fetchで画像をダウンロードしようとした際に、ダウンロードの進捗状況も画面上に表示させようとしたときの備忘録。
基本的にサンプルレベルの雑なコードのメモです。
目次
ダウンロードの進捗状況を%で表示するサンプル
まずはダウンロードの進捗状況を%表示させる場合のサンプル。
これは実際にダウンロードした時点でのchunkサイズを Content-Length の数で割れば割り出せる。
※ progressPercent という変数に%の値を格納し、画面に表示させています。なお、サンプルは Create React App で作成しています。
sleep処理をあえて挟んでいる
サンプルコードの前に一点だけ書いておく。
サンプルコードを見てもらえれば分かる通り、chunkを読み込むところであえてsleep処理を挟むようにしている。
これはスリープさせなければ処理が高速すぎて、stateの反映が画面上に追いつかなかったため、あえて感覚を空けてstateを画面上に反映させるようにしている。
(ここはサンプルの書き方をもう少し工夫すればsleepは不要になるかもしれないが、ひとまずのメモを残すというのが今回の趣旨のためこのままとしている)
sleep 関数自体は以下のようなシンプルな関数となっている。
const sleep = msec => new Promise(resolve => setTimeout(resolve, msec));
画像ダウンロードを進捗付きで表示するサンプル
では本題のサンプルコードをいかに貼る。
function App() {
  const [progressPercent, setProgressPercent] = useState(0);

  const download = async () => {
    try {
      const response = await fetch("<ダウンロードURL>");
      const contentLength = +response.headers.get('Content-Length');

      let reader = response.body.getReader();

      // バイナリチャンクの配列
      let chunks = [];

      // chunkの長さをこちらに足していき、ダウンロードすべき量であるcontentLengthで割ることで進捗の値を割り出す
      let receivedLength = 0;

      while(true) {
        const {done, value} = await reader.read()

        if(done) {
          break;
        }

        chunks.push(value);
        receivedLength += value.length;

        await sleep(100);
        setProgressPercent(Math.round((receivedLength/contentLength)*100))
      }

      // 以下はバイナリをダウンロードするための処理
      const blob = new Blob(chunks);
      const url = window.URL.createObjectURL(blob);

      const a = document.createElement('a');
      a.href = url;
      a.download = "test.png"

      document.body.appendChild(a);
      a.click();
      a.remove();
      window.URL.revokeObjectURL(url)
    } catch(error) {
      console.error('ERROR: ', error)
    }
  }

  return (
    <div className="App">
      <header className="App-header">
        <p>Progress: {progressPercent} %</p>
        <button onClick={download}>Download</button>
      </header>
    </div>
  );
}
JSONを取得する場合のサンプル
上は画像を例にしたが、JSONを取得したい場合は下記のようになる。
ダウンロード処理のところは割愛してログに出すところまで。
function App() {
  const [progressPercent, setProgressPercent] = useState(0);

  const download = async () => {
    try {
      const response = await fetch("<ダウンロードURL>");
      const contentLength = +response.headers.get('Content-Length');

      let reader = response.body.getReader();

      // バイナリチャンクの配列
      let chunks = [];

      // chunkの長さをこちらに足していき、ダウンロードすべき量であるcontentLengthで割ることで進捗の値を割り出す
      let receivedLength = 0;

      while(true) {
        const {done, value} = await reader.read()

        if(done) {
          break;
        }

        chunks.push(value);
        receivedLength += value.length;

        await sleep(100);
        setProgressPercent(Math.round((receivedLength/contentLength)*100))
      }

      // ダウンロードが文字列の場合はこんな感じで連結して取る(例はJSONをダウンロードした場合)
      let allChunks = new Uint8Array(receivedLength)
      let position = 0;
      for (let chunk of chunks) {
        allChunks.set(chunk, position);
        position += chunk.length;
      }

      let result = new TextDecoder("utf-8").decode(allChunks);
      console.log(JSON.parse(result));
    } catch(error) {
      console.error('ERROR: ', error)
    }
  }

  ・
  ・
  ・

}
Chakra UIのプログレスバーで描画する
実際の開発ではライブラリを使うことも多いかと思う。
今回はChakra UIで用意されているコンポーネントを用いてプログレスバーを表示するサンプルを書く。
なお、サンプルは最初に書いた画像ダウンロード処理のみを記載する。
Progress というコンポーネントが用意されているのでこちらを利用する。
実際に作成してみたサンプルがこちら

ソースコードはこちら。上の見た目を作るためにかなり雑にスタイルをいじっている。
// Chakra UIで利用しているコンポーネントは以下の通り(その他のimportは省略)
import { Progress, Button } from '@chakra-ui/react'

function App() {
  const [progressPercent, setProgressPercent] = useState(0);

  const download = async () => {
    try {
      const response = await fetch("<ダウンロードURL>");
      const contentLength = +response.headers.get('Content-Length');

      let reader = response.body.getReader();
      let chunks = [];
      let receivedLength = 0;

      while(true) {
        const {done, value} = await reader.read()

        if(done) {
          break;
        }

        chunks.push(value);
        receivedLength += value.length;

        await sleep(100);
        setProgressPercent(Math.round((receivedLength/contentLength)*100))
      }

      // 以降は画像のダウンロード処理
      const blob = new Blob(chunks);
      const url = window.URL.createObjectURL(blob);

      const a = document.createElement('a');
      a.href = url;
      a.download = "test.png"

      document.body.appendChild(a);
      a.click();
      a.remove();
      window.URL.revokeObjectURL(url)
    } catch(error) {
      console.error('ERROR: ', error)
    }
  }

  return (
    <div className="App">
      <header>
        <div style={{padding: 30}}>
          <Progress hasStripe value={progressPercent} />
        </div>
        <Button colorScheme='blue' onClick={download}>Download</Button>
      </header>
    </div>
  );
}
Material UIの場合
Chakra UIに続き、Material UIでも試してみようと思う。
以下のコンポーネントが使えそうだ。
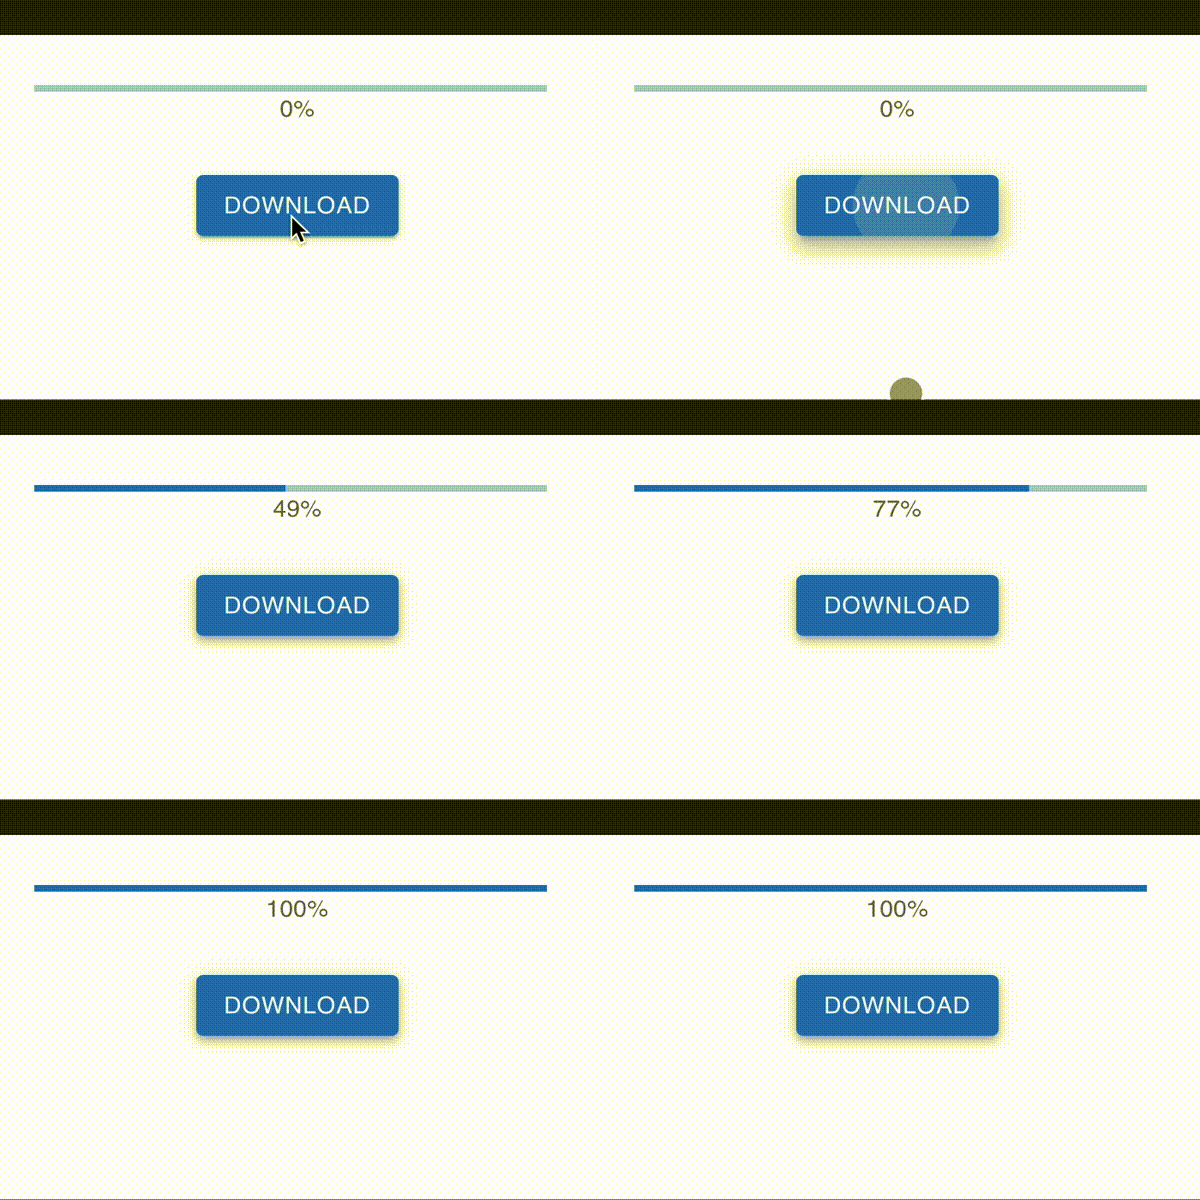
実際に動かしてみたDEMOは以下。

プログレスバーのサンプル自体はMaterial UIのドキュメントにあったサンプルを少し改造したもので、Chakra UIのサンプルと同様、スタイルは適当。
// Material UIで利用しているコンポーネントは以下の通り(その他のimportは省略)
import { LinearProgress } from '@mui/material';
import { Box } from '@mui/system';
import Typography from '@mui/material/Typography';
import Button from '@mui/material/Button';

function App() {
  const [progressPercent, setProgressPercent] = useState(0);

  const download = async () => {
    try {
      const response = await fetch("ダウンロードURL");
      const contentLength = +response.headers.get('Content-Length');

      let reader = response.body.getReader();

      // バイナリチャンクの配列
      let chunks = [];

      // 受信した時点でのlength
      let receivedLength = 0;

      while(true) {
        const {done, value } = await reader.read()

        if(done) {
          break;
        }

        chunks.push(value);
        receivedLength += value.length;

        await sleep(100);
        setProgressPercent(Math.round((receivedLength/contentLength)*100))
      }

      // 以降はダウンロード処理
      const blob = new Blob(chunks);
      const url = window.URL.createObjectURL(blob);

      const a = document.createElement('a');
      a.href = url;
      a.download = "test.png"

      document.body.appendChild(a);
      a.click();
      a.remove();
      window.URL.revokeObjectURL(url)
    } catch(error) {
      console.error('ERROR: ', error)
    }
  }

  const LinearProgressWithLabel = (props) => {
    return (
      <>
        <Box sx={{ display: 'flex', alignItems: 'center' }}>
          <Box sx={{ width: '100%', mr: 1 }}>
            <LinearProgress variant="determinate" {...props} />
          </Box>
        </Box>
        <Box sx={{ minWidth: 35 }}>
          <Typography variant="body2" color="text.secondary">{`${Math.round(
            props.value,
          )}%`}</Typography>
        </Box>
      </>
    );
  }

  return (
    <div className="App">
      <header>
        <div style={{padding: 30}}>
          <LinearProgressWithLabel value={progressPercent} />
        </div>
        <Button variant="contained" onClick={download}>Download</Button>
      </header>
    </div>
  );
}

export default App;
メモは以上。